Are you tired of tilling your garden every year? Do you want a more sustainable, less labor-intensive way to grow your vegetables and flowers? Learning how to start no-till gardening might be the perfect solution for you. This method is gaining popularity because it improves soil health, saves time, and reduces erosion.
In this beginner-friendly guide, we’ll walk you through no till gardening for beginners step by step. You don’t need expensive tools or expert knowledge—just a bit of patience and the desire to help your garden thrive naturally. Let’s dive into the easy steps that will help you make the switch from traditional gardening to no-till.
1. What is No-Till Gardening and Why Should You Try It?
No-till gardening is a method that avoids turning or disturbing the soil. In traditional gardening, tilling is done to break up compacted soil, incorporate organic matter, and control weeds. However, this practice can damage the soil structure and kill beneficial organisms like worms and microbes.
In contrast, no-till gardening encourages the development of healthy soil ecosystems. By leaving the soil undisturbed, you promote the growth of beneficial organisms that improve plant health. Plus, you reduce the need for frequent watering and weed control.
Key Benefits of No-Till Gardening:
- Improved soil health: No-till methods help maintain organic matter and boost soil fertility.
- Reduced erosion: The protective layer of mulch keeps the soil from washing away.
- Less work: No need for heavy equipment or yearly tilling—just let nature do its thing!
2. Step 1: Choose Your Garden Location
The first step in learning how to start no-till gardening is picking the right location. Just like traditional gardening, your no-till garden will need adequate sunlight (at least 6 hours of direct sunlight per day) and good drainage.
Pro tip: Try to choose a spot that hasn’t been tilled or heavily disturbed in the past. This will help you maintain healthy soil from the start.
If you’re transitioning from a conventional garden, don’t worry. You can still switch to no-till gardening without starting from scratch. The key is to work with what you have and start building your soil over time.
3. Step 2: Build Healthy Soil by Layering Organic Material
Once you’ve chosen your garden spot, it’s time to start building your soil using the “lasagna” method, a popular no-till technique.
Here’s how it works:
- Start with a weed barrier: Lay down a thick layer of cardboard or newspaper. This will smother weeds and break down over time, adding organic material to the soil.
- Add organic layers: Next, spread a layer of compost, leaves, grass clippings, or other organic material. This acts as food for soil organisms and enriches the soil.
- Top with mulch: Cover everything with a thick layer of mulch (straw, wood chips, or shredded leaves). Mulch helps retain moisture, suppress weeds, and protect your soil.
Pro tip: The goal is to mimic the natural process of decomposition that happens in forests. These layers break down gradually, improving soil structure and fertility without any tilling.
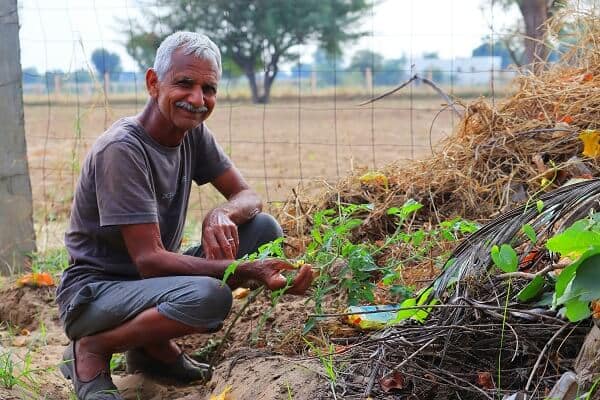
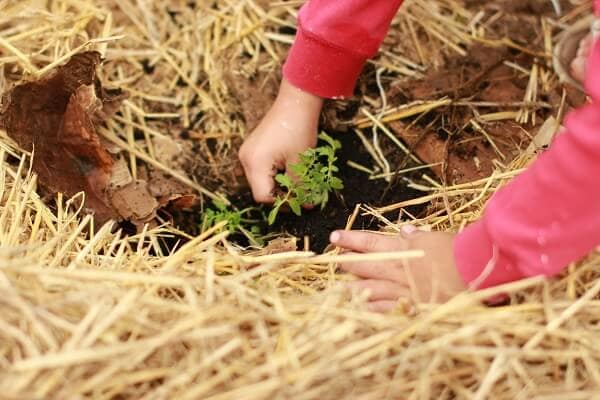
4. Step 3: Planting Without Tilling—How to Do It Right
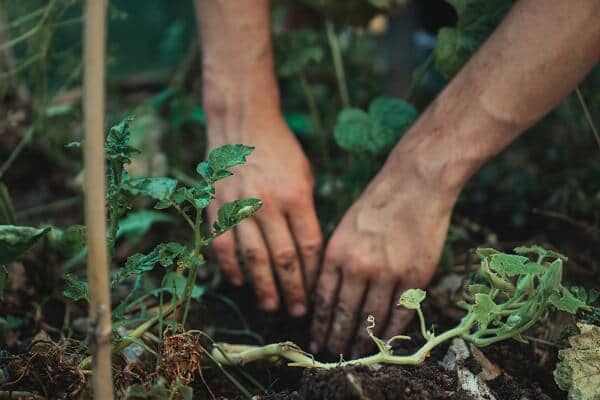
Planting in a no-till garden is easy. Instead of digging deep holes, you only disturb the soil where you want to place your seeds or transplants.
Here’s how to plant in your no-till garden:
- For seeds: Use a hand tool to create small furrows or holes for your seeds, disturbing as little soil as possible. Gently cover the seeds with mulch or compost.
- For transplants: Dig a small hole through the mulch and organic layers, just deep enough for the plant’s root ball. Once planted, cover the hole with mulch again.
In the first year, you might notice a few weeds. Don’t worry! Regular mulching will reduce weeds over time, and any that do appear can easily be pulled by hand.
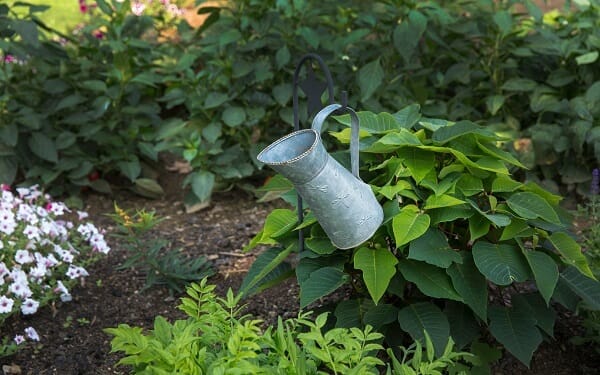
5. Step 4: Maintain Your No-Till Garden—Mulching and Watering
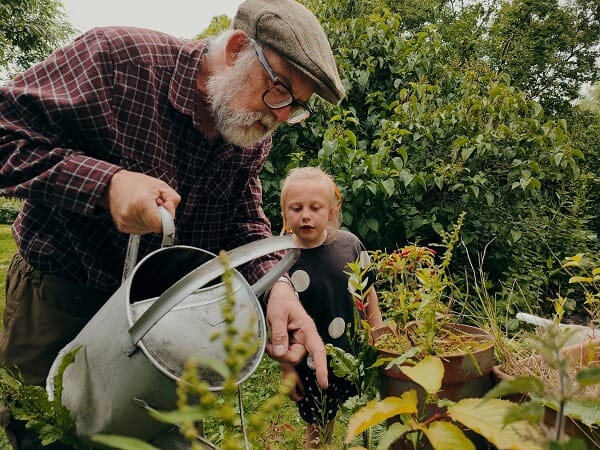
Once your garden is planted, your main job will be maintaining a healthy layer of mulch. Mulch is essential in no-till gardening because it protects the soil, prevents weed growth, and retains moisture.
How to Maintain Your No-Till Garden:
- Keep mulch thick: Aim for at least 2-4 inches of mulch around your plants. This will keep weeds at bay and maintain moisture levels.
- Water efficiently: No-till gardens often require less water, but you should still monitor moisture levels, especially during dry spells. Mulch helps conserve water, but make sure your plants get a deep soak when needed.
In time, your garden’s soil will become rich, crumbly, and full of life—without ever turning it over!
6. Step 5: Let Nature Do the Work—Why Patience is Key
One of the best parts of no-till gardening is that it allows nature to take the lead. Over time, your soil will improve on its own, becoming more fertile and capable of supporting healthy plants. You’ll notice that you need fewer fertilizers, less weeding, and less watering as the seasons pass.
However, no-till gardening isn’t an instant fix. It can take a few years for the soil to reach its full potential, especially if you’re starting with poor soil. The key is patience—trust that by avoiding tilling and adding organic matter, your garden will thrive over time.
Learning how to start no-till gardening is a fantastic way to create a healthier, more sustainable garden. Not only will you save time and energy by skipping the tilling process, but you’ll also build a rich, fertile soil ecosystem that will benefit your plants for years to come.
By following the steps outlined in this guide—choosing the right location, layering organic material, planting carefully, maintaining mulch, and letting nature do the work—you can make the transition from traditional to no-till gardening smoothly. Remember, no-till gardening is a long-term investment in the health of your soil and your plants.